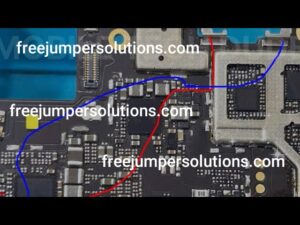
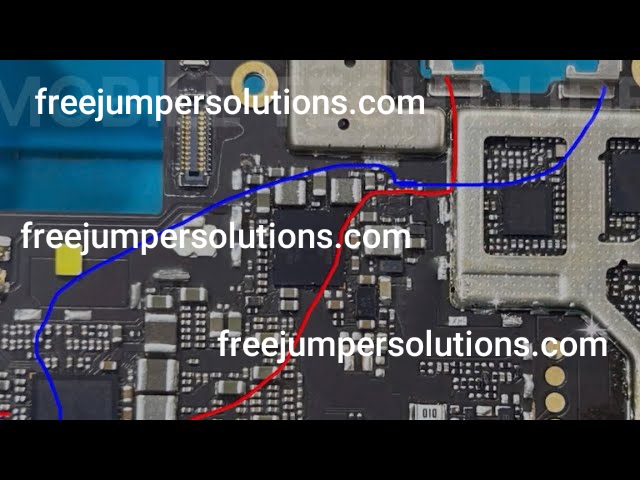
Vivo v9 ear speaker problem jumper solution

Vivo V9 ear speaker problem issues:
Issue: Ear speaker not working or producing sound.
Jumper Solution:
Tools needed:
- Soldering iron and solder
- Wire (preferably 0.1mm or 0.2mm)
- Jumper wire (small piece)
- Torx screwdriver (for disassembling)
Step-by-Step Instructions:
- Disassemble the phone: Remove screws, battery, and SIM card tray. Gently pry open the phone’s casing.
- Locate the ear speaker: Identify the ear speaker component on the PCB (Printed Circuit Board).
- Check ear speaker connections:
- Verify connections to the motherboard.
- Ensure no corrosion or damage.
- Create a jumper:
- Cut a small piece of wire (about 1-2 cm).
- Strip insulation from both ends.
- Solder one end to the ear speaker’s positive terminal (usually marked as “SPK+” or “EAR+”).
- Solder the other end to the motherboard’s ear speaker output (usually marked as “SPK_OUT” or “EAR_OUT”).
- Verify the jumper:
- Double-check soldering and ensure the jumper is secure.
- Avoid short circuits.
Jumper Points:
- Ear speaker’s positive terminal (usually marked as “SPK+” or “EAR+”)
- Motherboard’s ear speaker output (usually marked as “SPK_OUT” or “EAR_OUT”)
Additional Tips:
- Use a multimeter to test ear speaker continuity before creating the jumper.
- Ensure the jumper wire is thin and doesn’t touch other components.
- If you’re not comfortable with soldering, consider seeking professional help.
Disclaimer: Attempting repairs can void your warranty. Proceed at your own risk.
If you’re still facing issues or need further assistance, feel free to ask!
